Dry Preparation
 Dry preparation is typically practiced for upland rice, but can also be done for lowland fields.
In this method, the soils are not puddled and there is no freestanding water in the field. It requires less water and is effective for soil aeration, and in controlling golden apple snails.
It also helps to obtain a smooth and firm seedbed, control weeds, and incorporate organic materials and fertilizer into the soil.
Dry preparation is a good option when labor and water are scarce or when you require a short turn around time between crops.
Dry cultivation can reduce soil fertility and should only be practiced where wet land preparation is not an option.
The following are the steps and processes involved in dry preparation:
 Repair or construct bunds
Bunds or dikes enable the field to hold water. This is important especially in areas where water supply is not reliable.
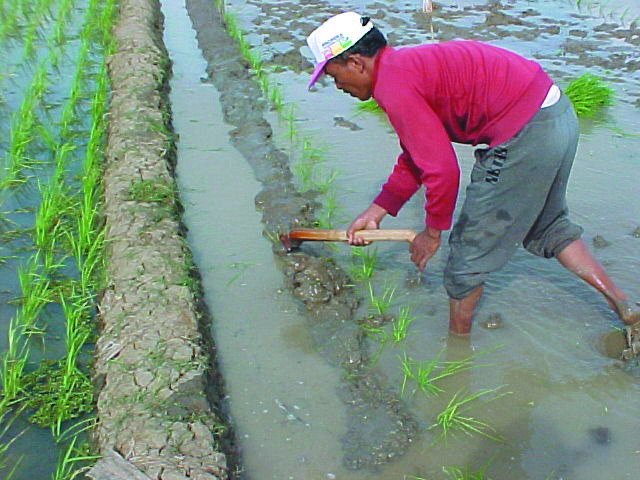
- Construct no wider and taller than 50 cm x 30 cm bunds, around the field.
- Make sure that bunds are well compacted and properly sealed, with no cracks, holes, etc. This will minimize water losses through seepage (particularly in sloping lands).
- Adjust the spillway height to 3−5 cm for storing the same depth of water. Maintain this height to ensure sufficient water storage capacity especially during rainy or wet season.
For rat control, construct 30 cm x 30 cm bunds.
 Perform primary tillage operations
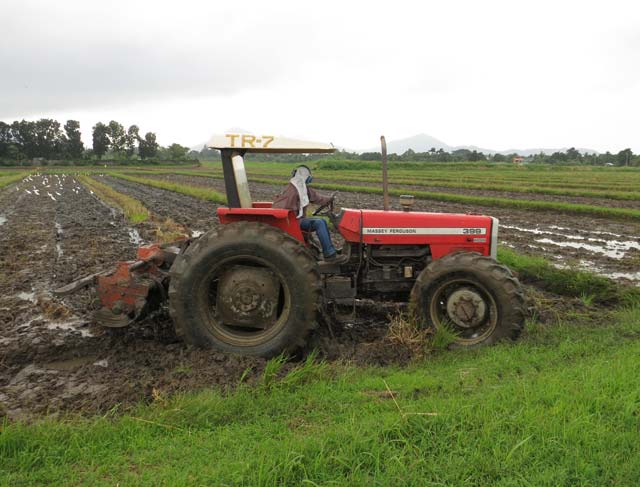 Primary tillage is normally undertaken when the soil is wet enough to allow the field to be plowed and strong enough to give reasonable levels of traction. This can be immediately after harvest or at the beginning of the next season, depending on soil moisture and water availability.
- Plow the field.
Implement options:
Power: 4-wheel tractor / 2-wheel tractor / animal power
Attachments: moldboard plow / disc plow / rotavator
Make the first pass along the edges of the field in a clockwise pattern. For the second pass, move counterclockwise and finish at the center.
Read: What are the different plowing patterns? (Training resource)
The soil should be plowed to attain a reasonable depth (10−20 cm of cultivated soil) with varying clod sizes, and to kill weeds by burying or exposing the roots.
Depending on the clod size, another tillage operation can be done using primary tillage implements. Additional primary tillage operations are generally done with disc plow or rotavator.
What is rotary tilling?
Primary tillage may also be done through rotary tilling. A power tiller or tractor-mounted rotary tiller is used in this operation.
Tiller blades or knives completely cut and mix the soil. They also break up and shred plant stubble or weeds, speeding up the decay of plant materials.
Rotary tilling can be done during primary and/or secondary tillage of soil.
 Perform secondary tillage operations
Harrow and rototill the field.
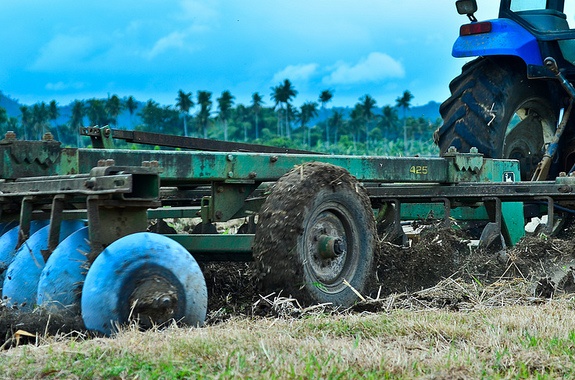 Implements: Flexi-tyne cultivator, Four-wheel tractor or a Power tiller with attached rotovator, Spike-tooth harrow
If weed population is high, make 1 pass using the flexi-tyne cultivator or spike-tooth harrow, then use the rotovator to till the soil.
When using the four-wheel tractor, make 2 passes across the field. If the power tiller is available, rototill the field for 1−3 times.
Make sure to perform all tillage operations within 2−3 days after each activity to prevent weed and volunteer seeds from germinating.
 Level the field
Good land leveling is best achieved using laser-assisted leveling. Well maintained fields require laser leveling once every 3−4 years.
Between laser leveling operations, the field can be leveled using a drag bucket.
A level field allows planters or drills to place seed more precisely and enables more uniform irrigation. A level field reduces weed pressure and helps control water.
Implements: Bucket leveler with laser attachment, Hydraulically operated drag buckets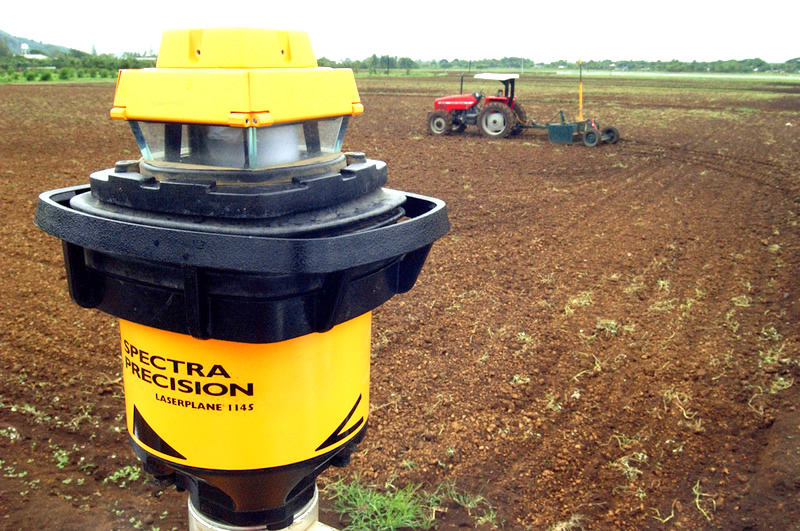
It takes approximately 8 hours to level 1 ha of land using the bucket leveler.
After land leveling, lightly till the soil at 1−3 cm to reduce compact.
Read: Guide to laser leveling
 Allow weeds to emerge before planting
Allow weeds to emerge for at least 2 weeks, then kill them with a non-selective herbicide, such as glyphosate. Plant your crop within 1−2 days, then spray a pre-emergence herbicide.
If there is no time, plant your crop immediately after leveling and shallow tillage (Step 4) then apply a pre-emergence herbicide.
Other techniques in dry land preparation include:
Stale seedbed
This technique is effective in reducing the weed seedbank in the soil.
In this practice, the field is tilled and leveled, and then weeds are allowed to emerge before being killed by using a non-selective herbicide or light cultivation. Depending on weed population and soil condition, no further tillage may be required.
Read: How to do stale seedbed technique
Reduced tillage
Reduced tillage is a land preparation practice that minimizes soil disturbance by reducing the number of tillage passes.
This is best for fields that have no heavy weed pressure, particularly for perennial weeds.
Implements: Rotovator, Tractor-mounted drill seeders
- Make sure that the soil has optimum moisture for tilling.
- Rototill the soil for 1−2 times. Clod sizes should be at 2−3 cm maximum.
- Drill the seed.
For extremely dry conditions, irrigate the field for 5−7 days before tilling the soil.
With minimal tillage, farmers are able (1) to generate higher yields, (2) reduce production costs, and (3) reduce erosion and other forms of land degradation.
Read: Reduced and zero tillage options (pdf)
You can use crop residues as mulches for reduced tillage
 Seedbed with crop residues used as mulchesCrop residues are parts of plants left in the field after the crops have been harvested and threshed. These include stalks, stubbles or stems, and leaves.
When used as mulches, crop residues can help conserve soil moisture, improve soil fertility, and control weeds, especially in direct seeded systems.
To do this:
1. Clear the field.
2. Place all tall vegetation on the bunds.
3. Cut and mix the smaller vegetation with crop residues.
4. Spread the mulches on the field.
Zero tillage
The decision on whether or not to till the soil depends on site-specific factors, such as the need for leveling and the risk of rodent attack.
In zero tillage operations, existing weeds should be killed by a non-selective herbicide, such as glyphosate. In situations where weed infestation is not uniform, apply herbicide as a spot treatment rather than a blanket application.
Apply herbicide 2−3 days before sowing, when weeds are actively growing and not under stress. If weeds are under moisture stress, irrigate the field for 5−7 days before applying herbicide for better weed kill.
Read: Reduced and zero tillage options (pdf)
Use clean water and a plastic container to make spray solution as herbicides bind with suspended soil particles and metal surfaces (e.g., iron bucket).
Use a multiple-nozzle boom fitted with flat-fan nozzles for full coverage