Stale seedbed
This technique is effective in reducing the weed seedbank in the soil.
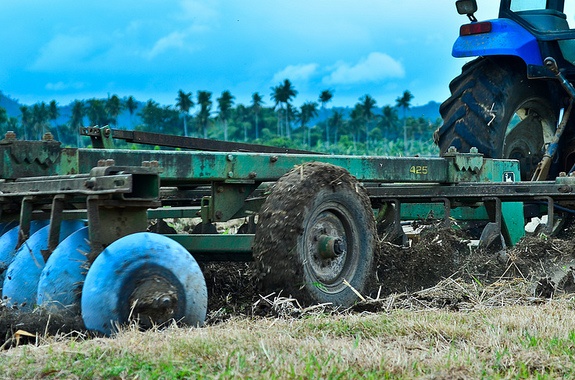
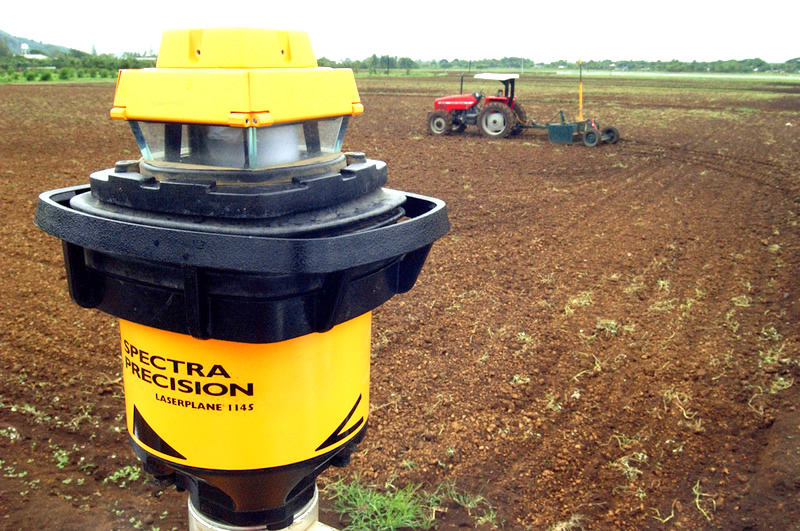
In this practice, the field is tilled and leveled, and then weeds are allowed to emerge before being killed by using a non-selective herbicide or light cultivation. Depending on weed population and soil condition, no further tillage may be required.
Read:
Reduced tillage
Reduced tillage is a land preparation practice that minimizes soil disturbance by reducing the number of tillage passes.
This is best for fields that have no heavy weed pressure, particularly for perennial weeds.
Implements: Rotovator, Tractor-mounted drill seeders
- Make sure that the soil has optimum moisture for tilling.
- Rototill the soil for 1−2 times. Clod sizes should be at 2−3 cm maximum.
- Drill the seed.
For extremely dry conditions, irrigate the field for 5−7 days before tilling the soil.
With minimal tillage, farmers are able (1) to generate higher yields, (2) reduce production costs, and (3) reduce erosion and other forms of land degradation.
Read: (pdf)
You can use crop residues as mulches for reduced tillage
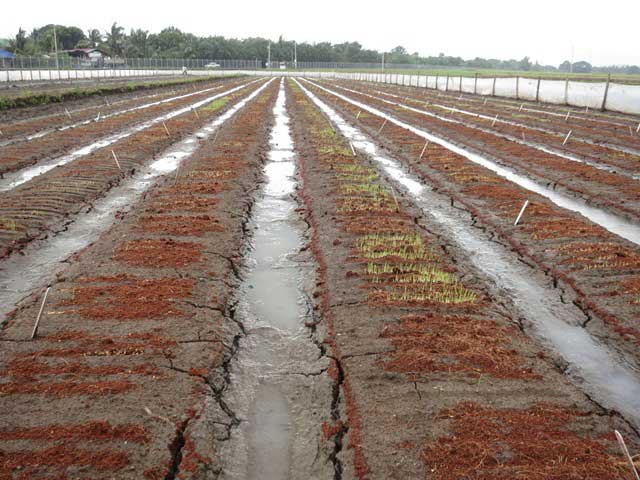 Seedbed with crop residues used as mulchesCrop residues are parts of plants left in the field after the crops have been harvested and threshed. These include stalks, stubbles or stems, and leaves.
When used as mulches, crop residues can help conserve soil moisture, improve soil fertility, and control weeds, especially in direct seeded systems.
To do this:
1. Clear the field.
2. Place all tall vegetation on the bunds.
3. Cut and mix the smaller vegetation with crop residues.
4. Spread the mulches on the field.
Zero tillage
The decision on whether or not to till the soil depends on site-specific factors, such as the need for leveling and the risk of rodent attack.
In zero tillage operations, existing weeds should be killed by a non-selective herbicide, such as glyphosate. In situations where weed infestation is not uniform, apply herbicide as a spot treatment rather than a blanket application.
Apply herbicide 2−3 days before sowing, when weeds are actively growing and not under stress. If weeds are under moisture stress, irrigate the field for 5−7 days before applying herbicide for better weed kill.
Read: (pdf)
Use clean water and a plastic container to make spray solution as herbicides bind with suspended soil particles and metal surfaces (e.g., iron bucket).
Use a multiple-nozzle boom fitted with flat-fan nozzles for full coverage
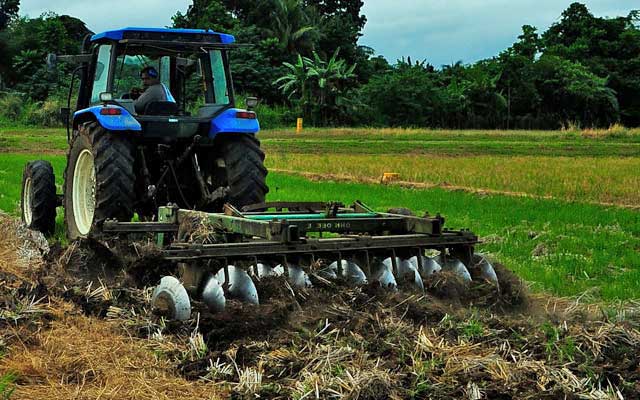 Dry preparation is typically practiced for upland rice, but can also be done for lowland fields.
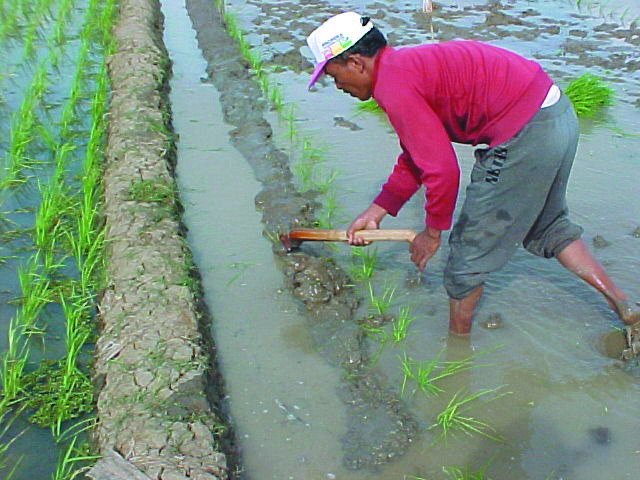
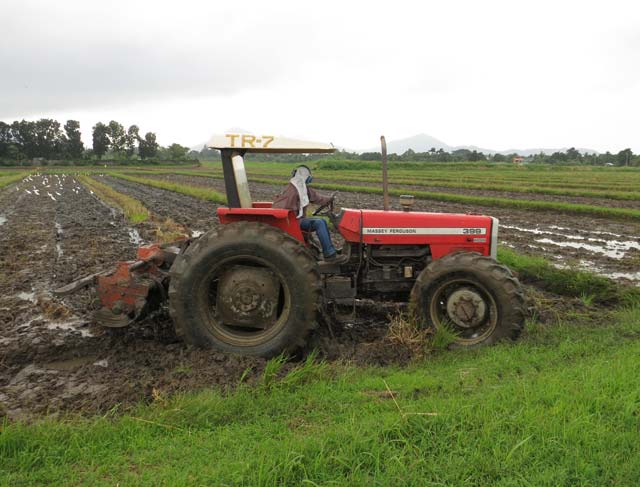 Primary tillage is normally undertaken when the soil is wet enough to allow the field to be plowed and strong enough to give reasonable levels of traction. This can be immediately after harvest or at the beginning of the next season, depending on soil moisture and water availability.